Create a Form (Quiz/Custom)
This article details how to create a form from the BlendVision AiM service.
Start creating form
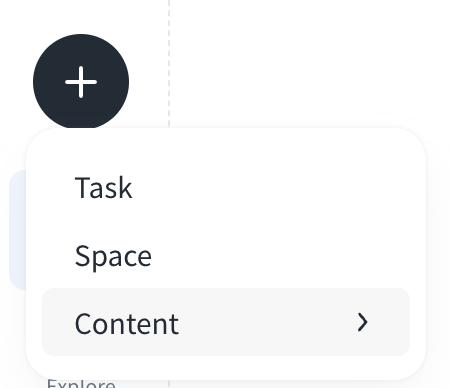
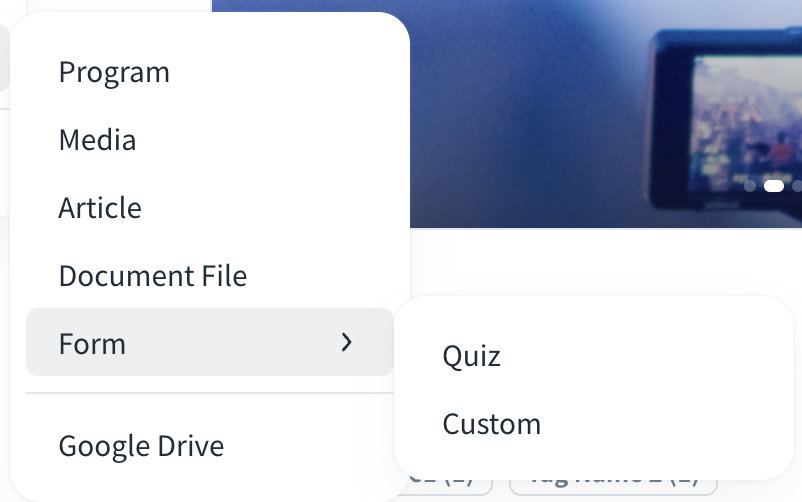
Click the “+” button on the left sidebar, and click Content to add a new Form which can be a quiz or a custom form.
Create quiz
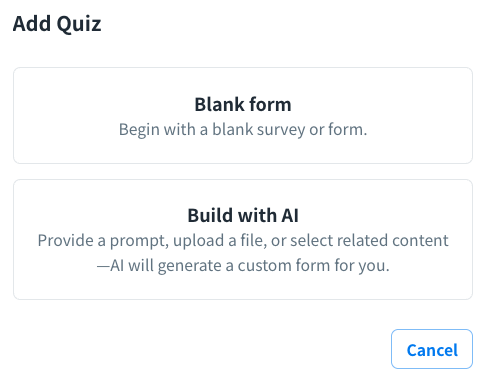
To add a quiz, you can choose to create the questions through a combination of manual design and AI-generated contents or generate them directly with our AI service.
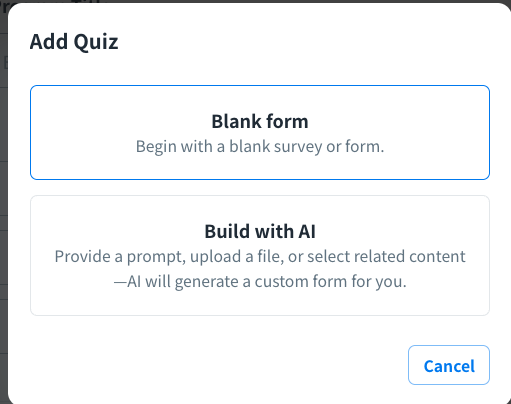
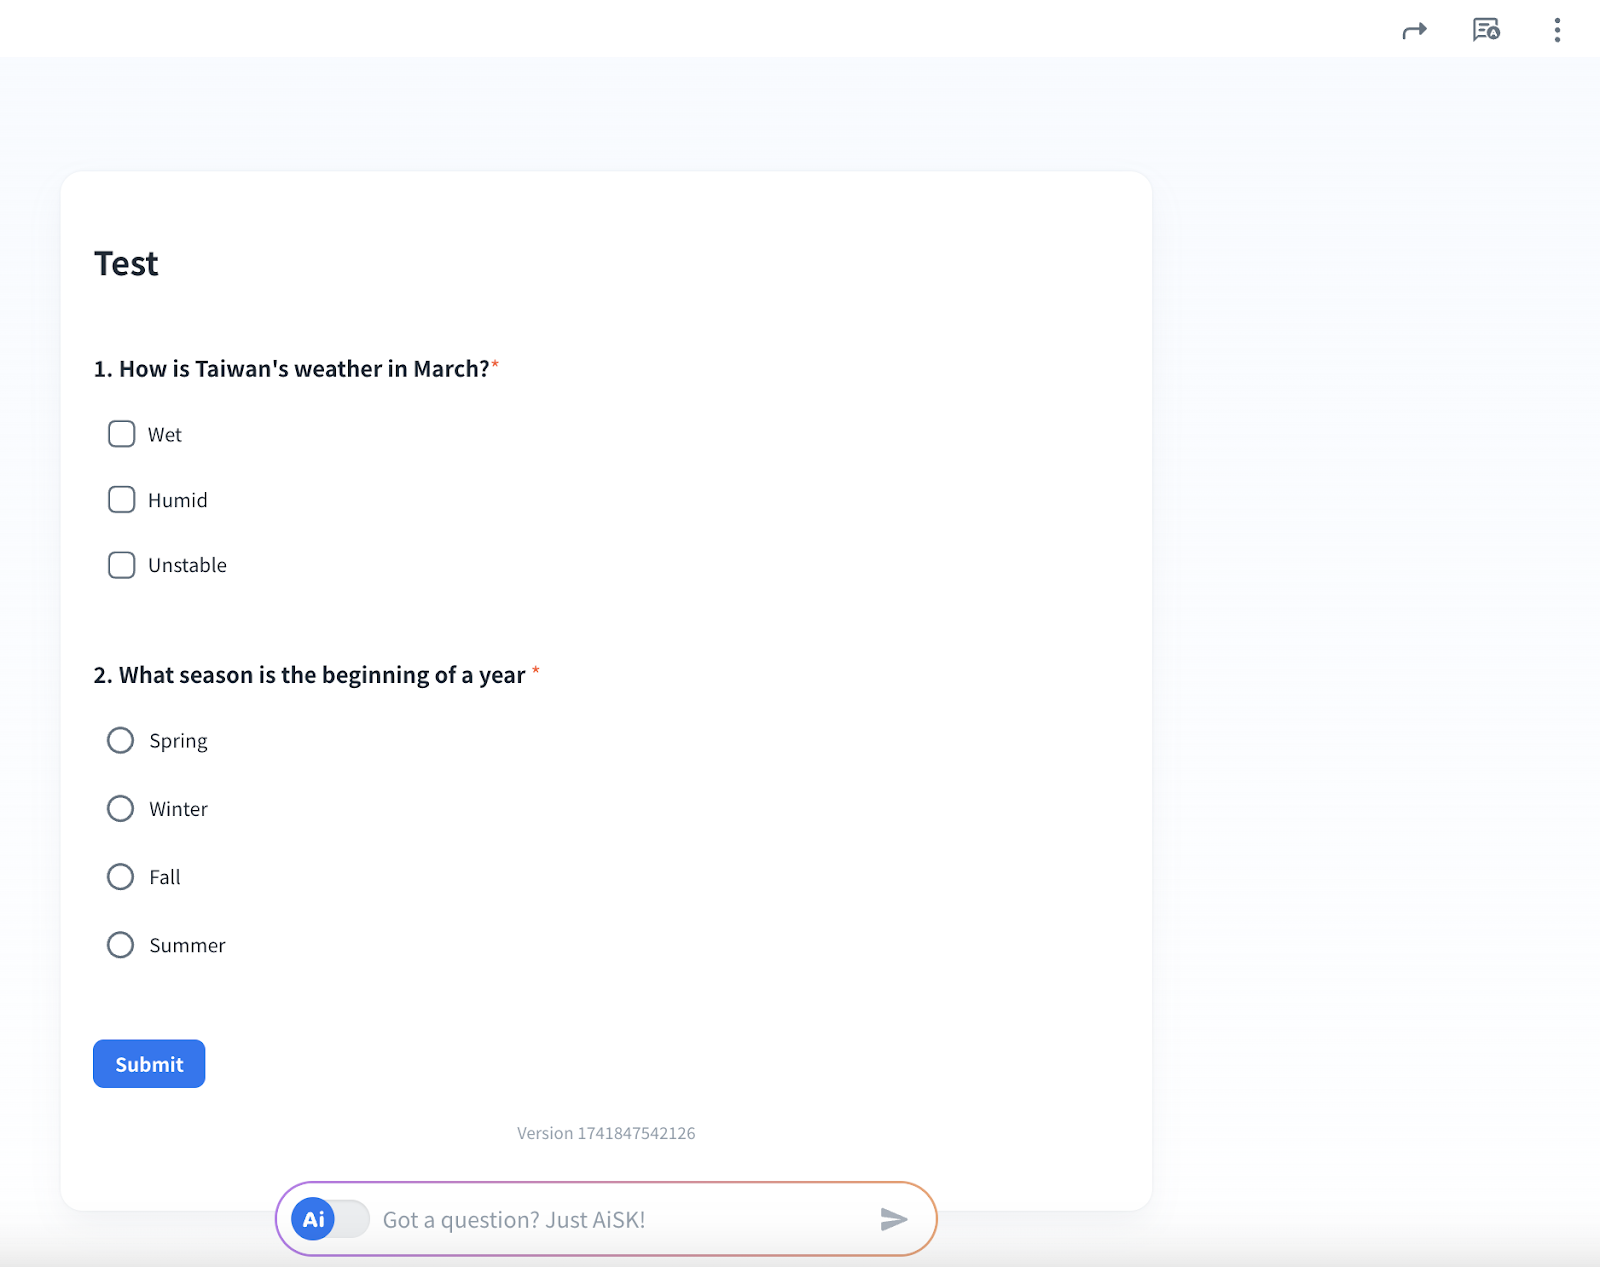
Blank Form
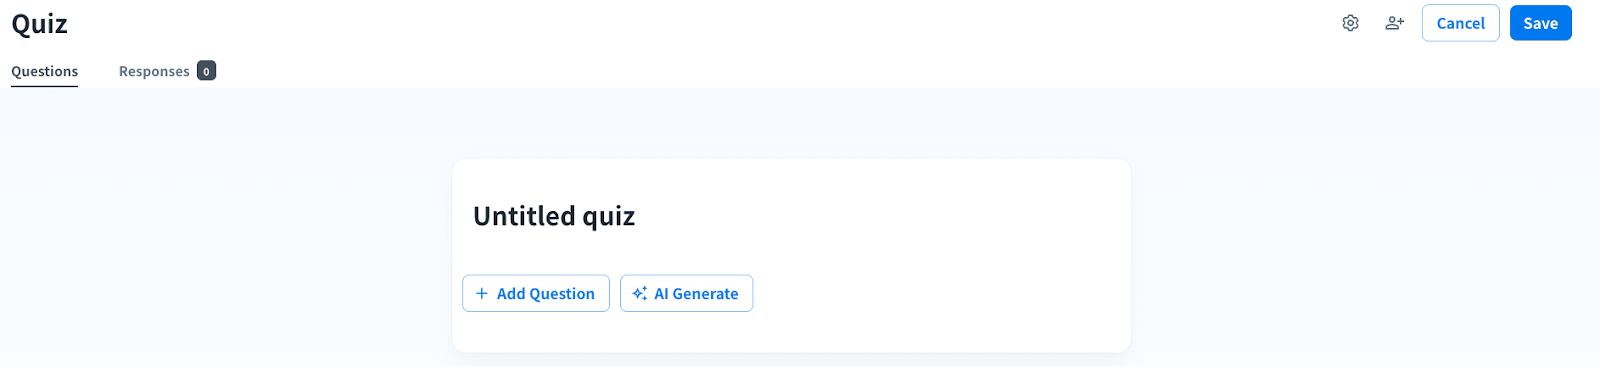
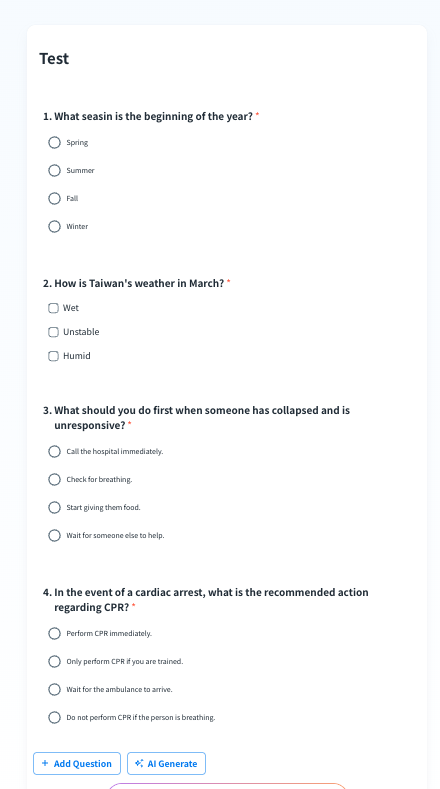
You can create a quiz in Questions section
- Add Question:
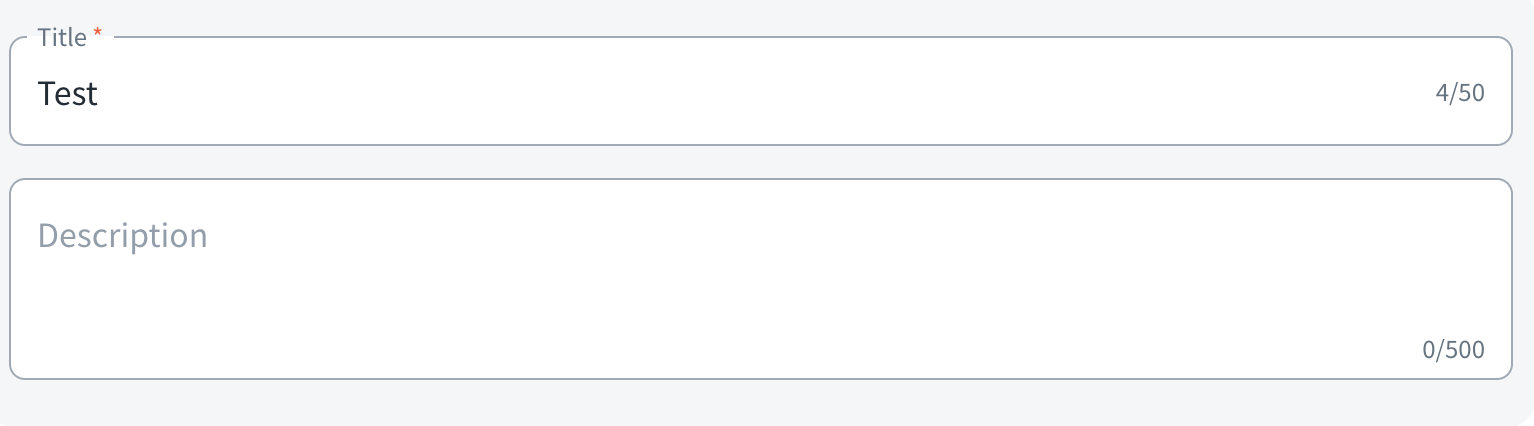
- Add a title and description for a new quiz in the “Untitled quiz” field and click “+ Add Question” to add questions with options manually
-
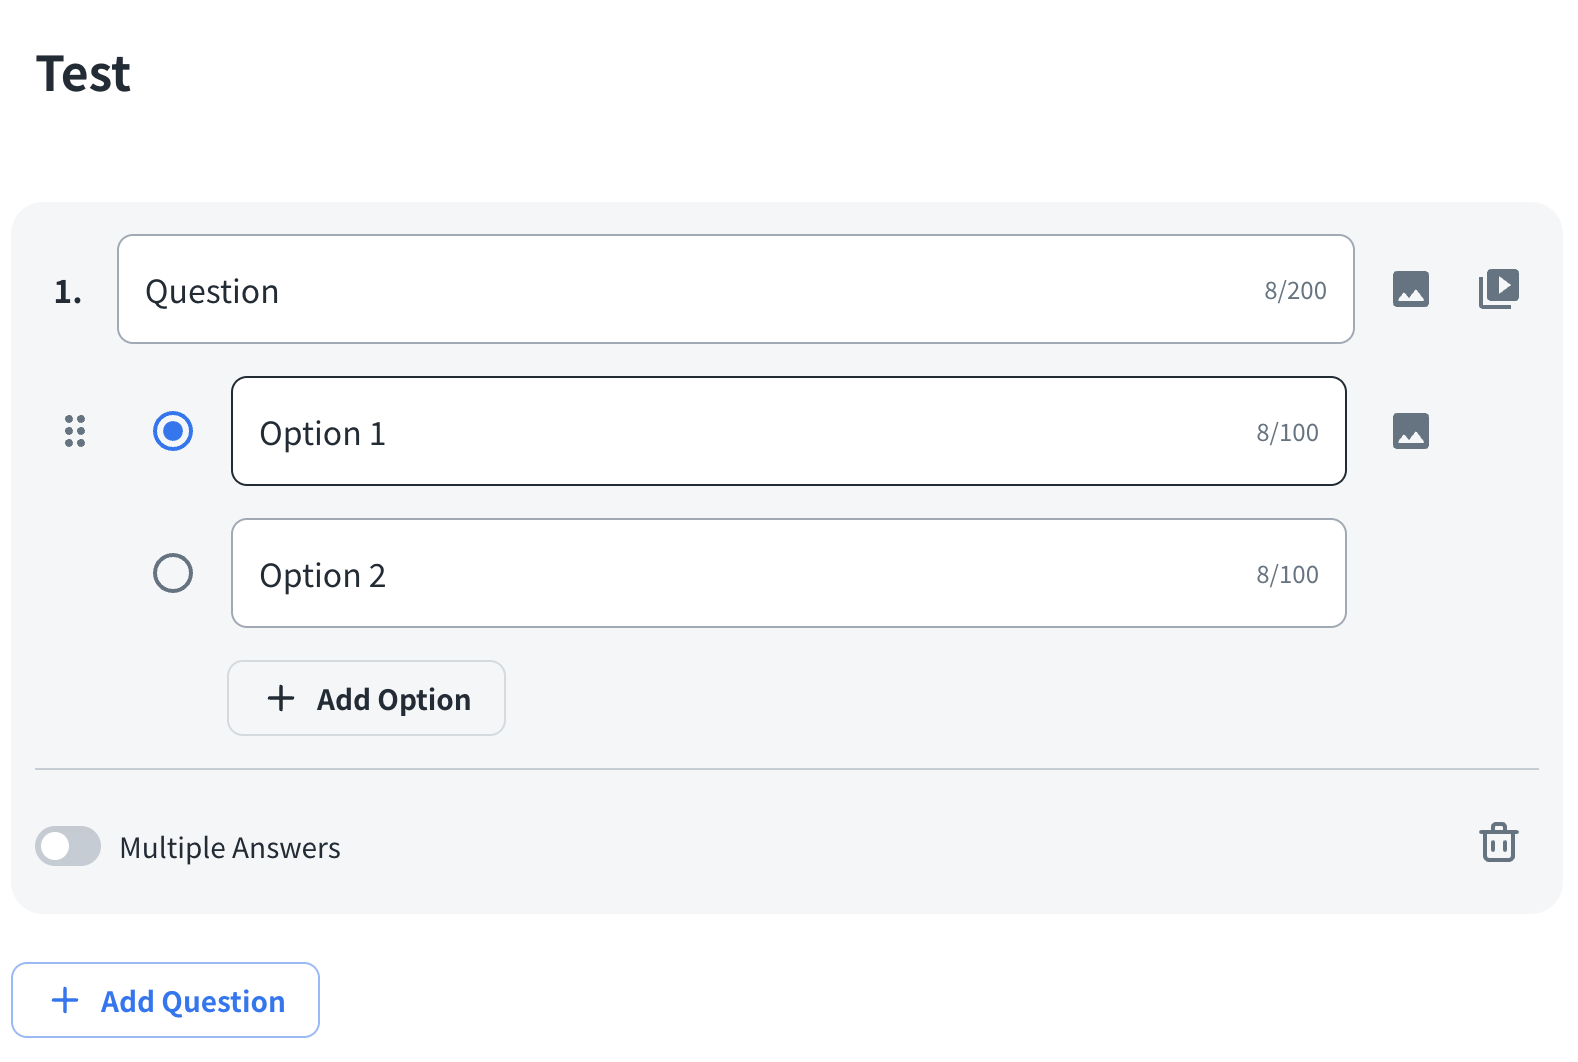
- Add your questions and options
-
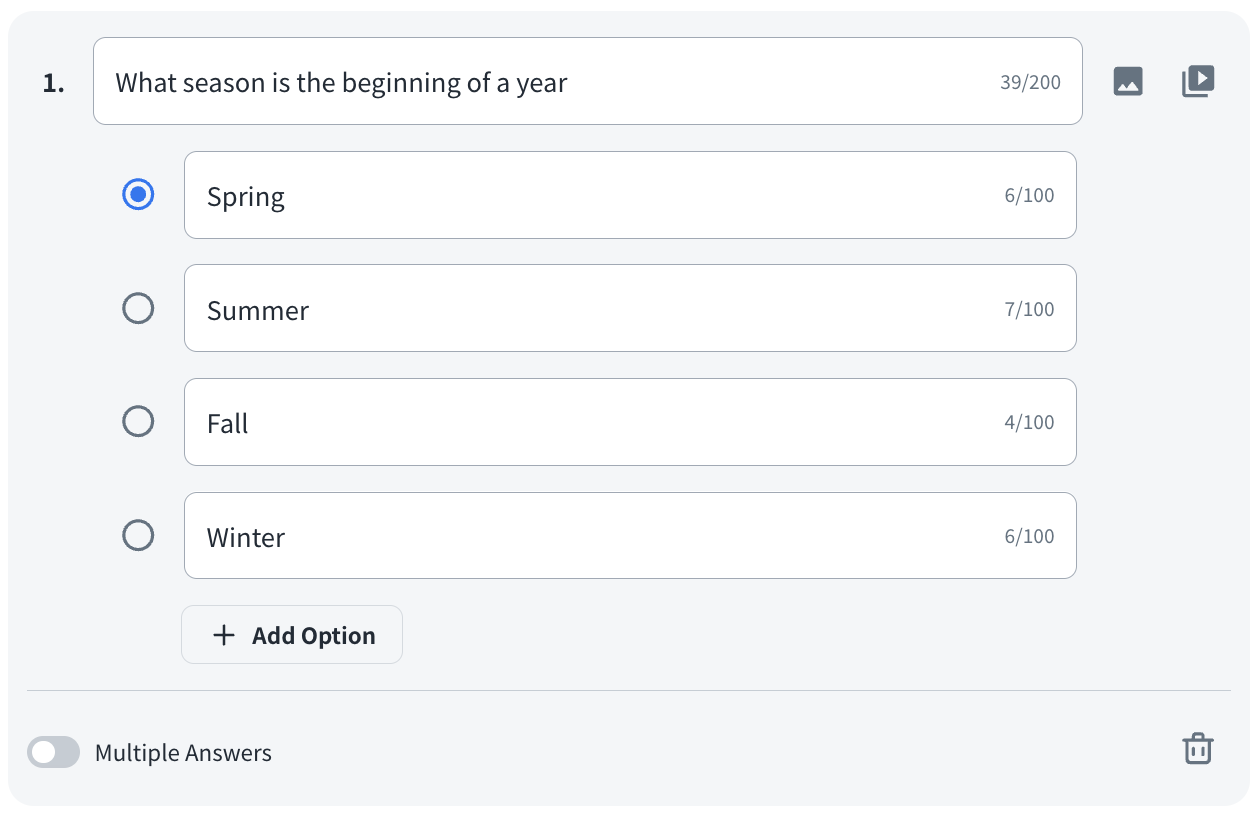
- Question: Create your question (Maximum: 200 characters). You can add an image or a media file to your question.
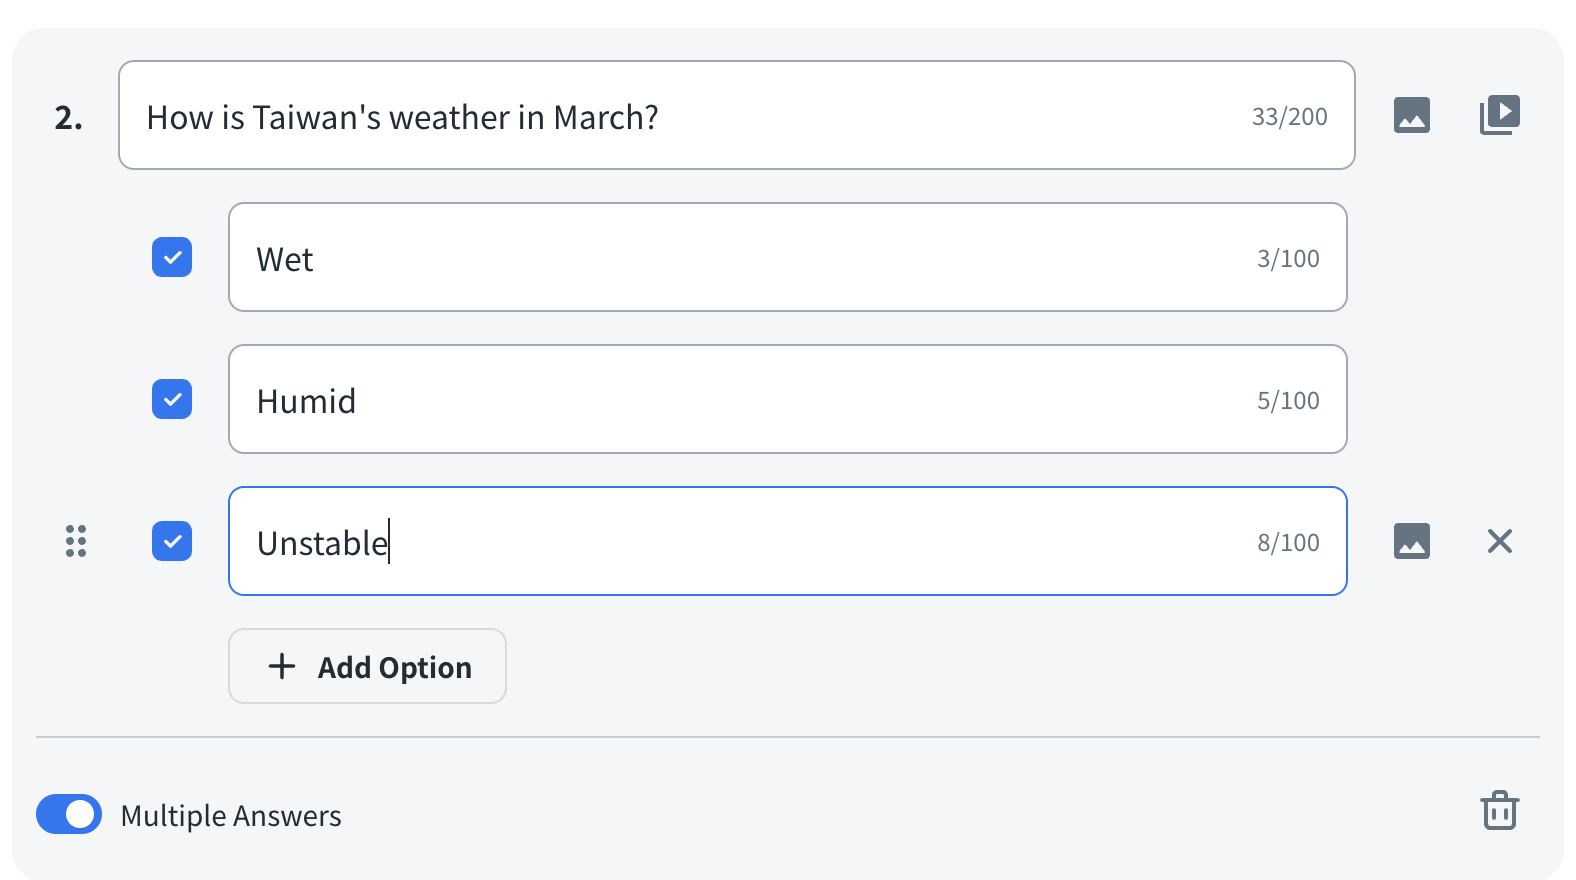
- Option: Add options to your question and please do remember to select one or multiple correct answers simultaneously. (Maximum: 100 characters). You can add an image to your option. It allows up to 10 options for each question at a time.
- Multiple Answers: Enable multiple answers to your question.
2. AI Generate:
- Click “AI Generate” to add questions with options through AI.

- Fill in the related information as below for the AI-generated quiz and click “Generate” to start generating.
Note: The detailed steps to generate questions through “AI Generate”, please refer to the next section, “Build with AI” for more information.
- When AI generation is in progress, please stop creating new questions and wait a moment until the notification of “AI-generated content has been saved automatically” appears.

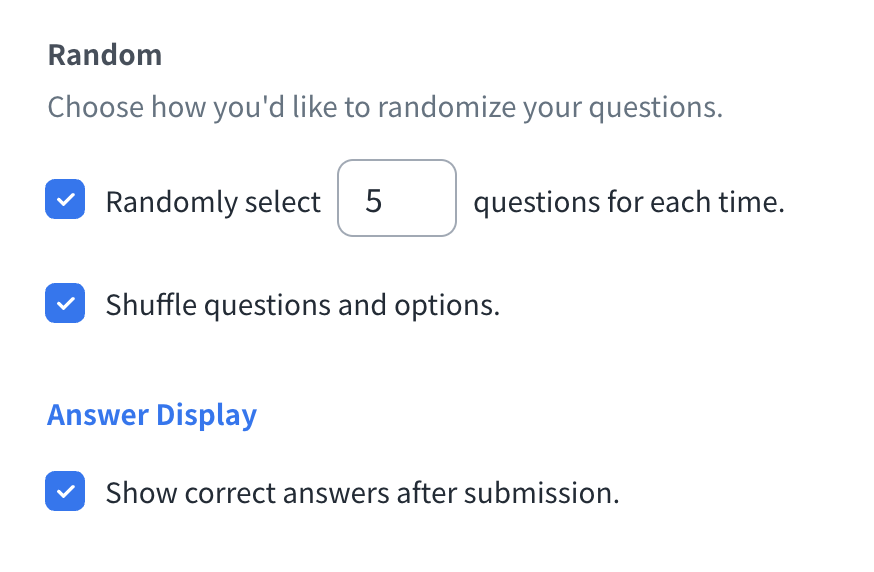
3. You can choose how to present the questions/answers to your students from Setting with click the Setting icon at the upper right corner.

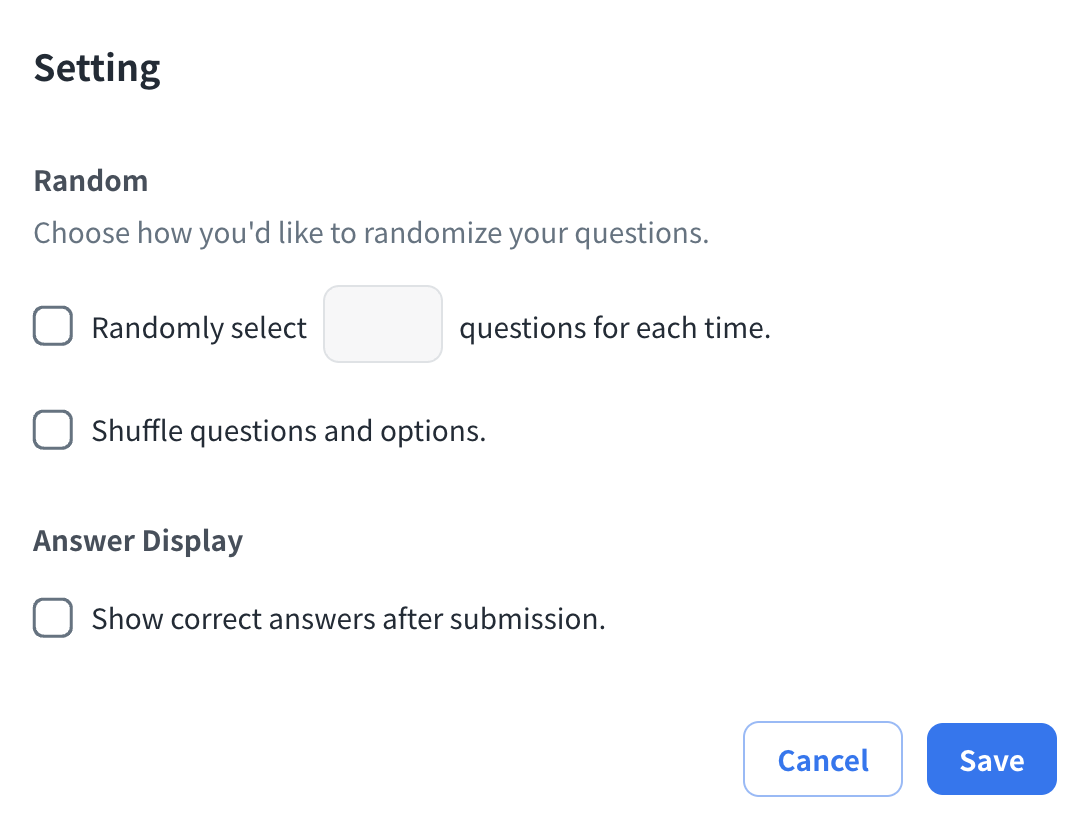
- Random: Check to select the quantity of the questions at random or shuffle the sequencing of numbers of the questions and options
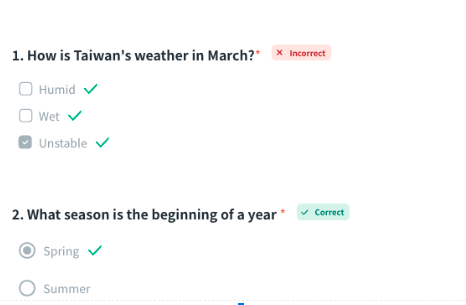
- Answer Display: Check to display the correct answer after submitting the quiz
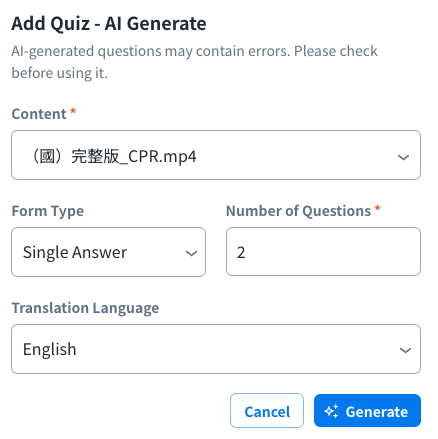
Build with AI
- Click “Build with AI”, You can start creating a quiz where the questions and options are generated by AI.
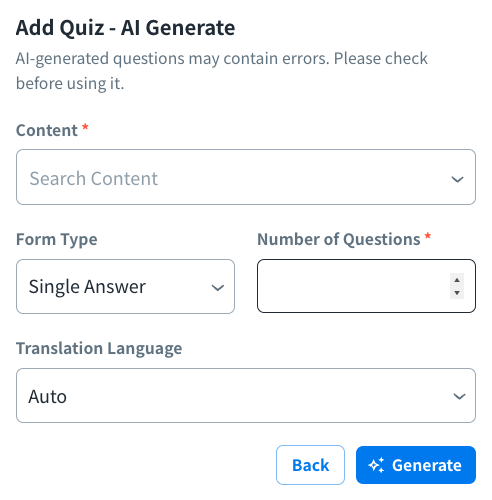
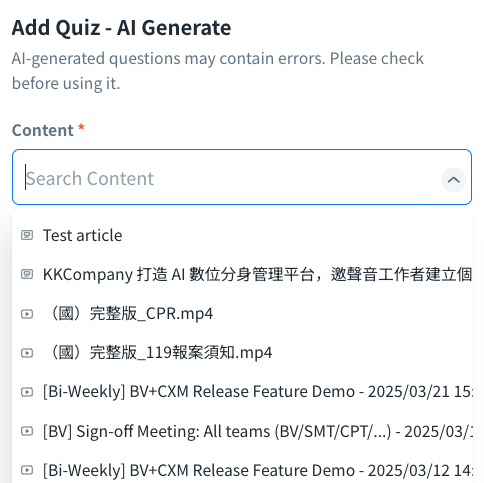
- Content (Required): Search the source content you want to design the quiz
- Form Type: Select one of the form types for the content
-
- Single Answer
- Multiple Answers
- True or False

- Number of Questions (Required): Fill in the number of the questions for the content (Max: 10 questions per content)

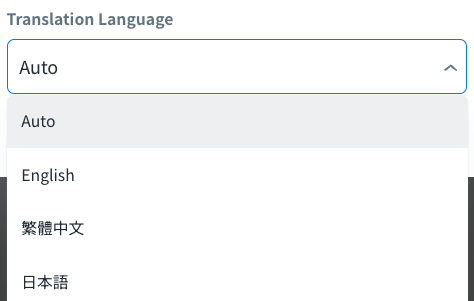
- Translation Language: Select the translation language you prefer for your users
- Click “Generate” button to start generating the questions for the content

Note: AI-generated questions may contain errors. Please check before using it.
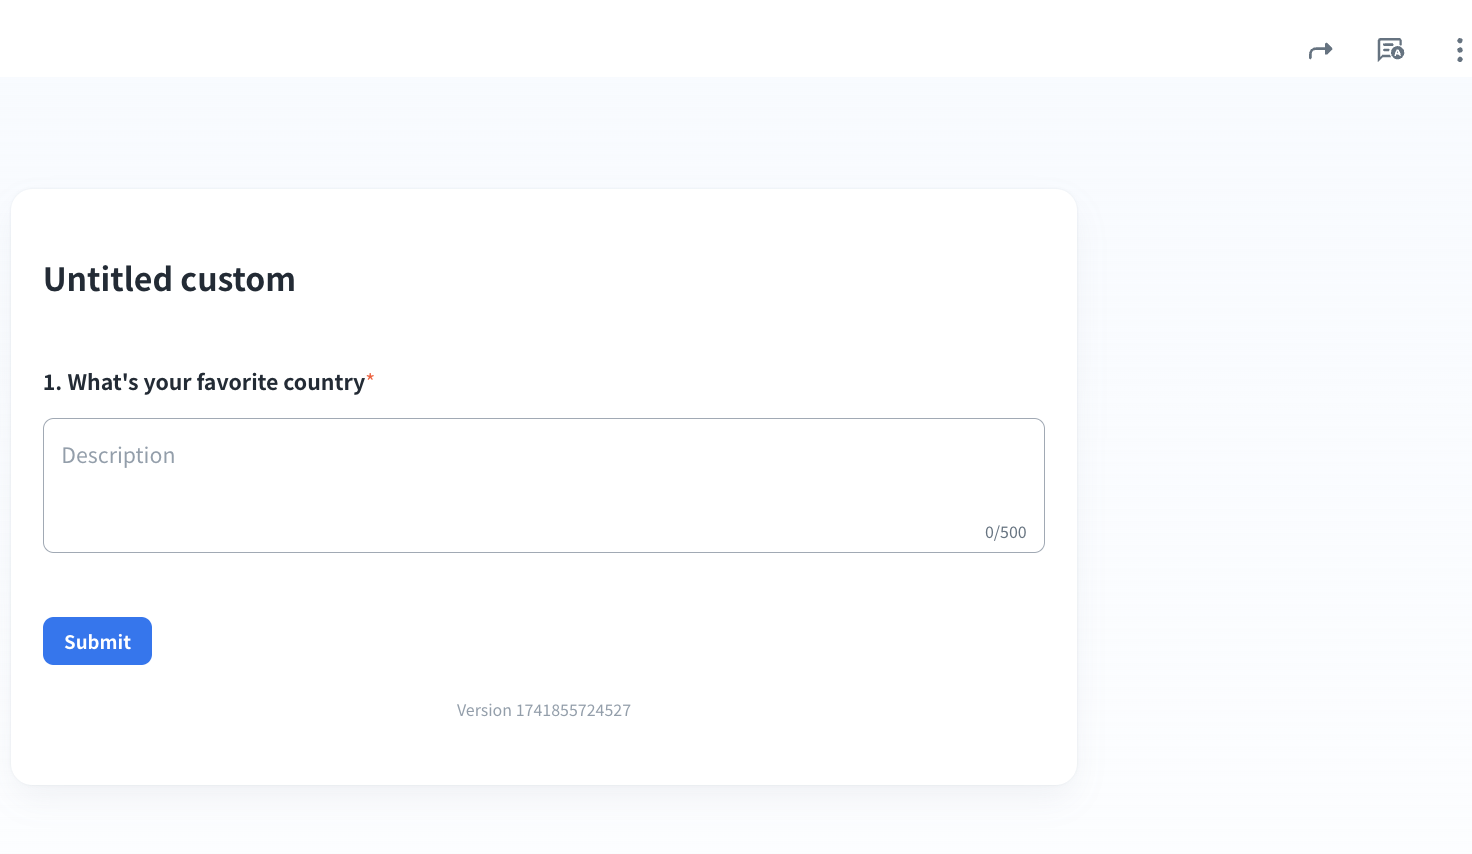
Create custom
You can create a custom in Questions section.
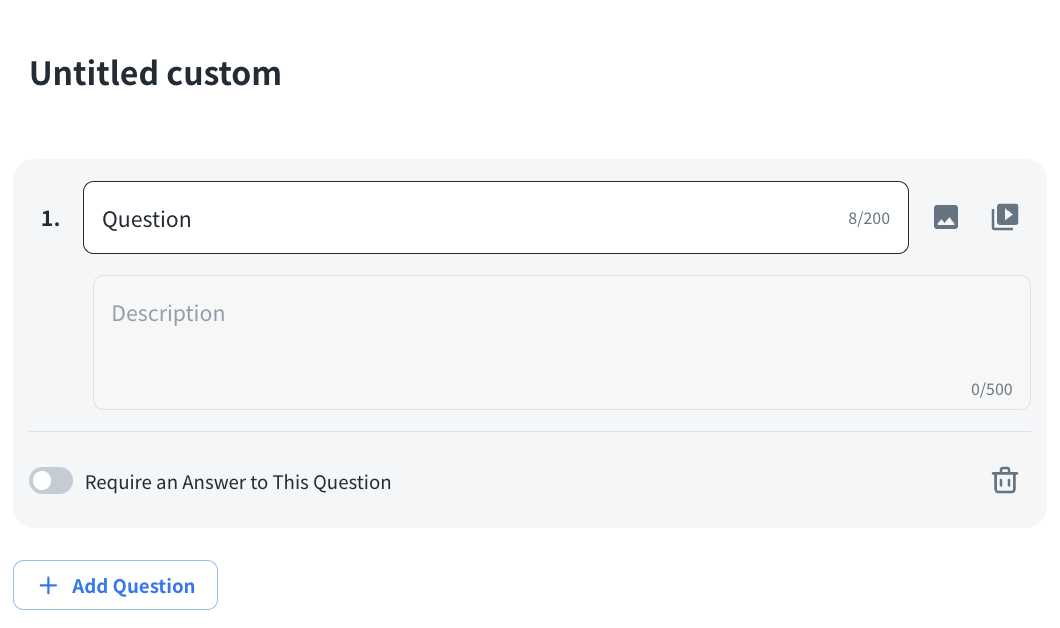
- Add a title and description for a new custom in the “Untitled custom” field.
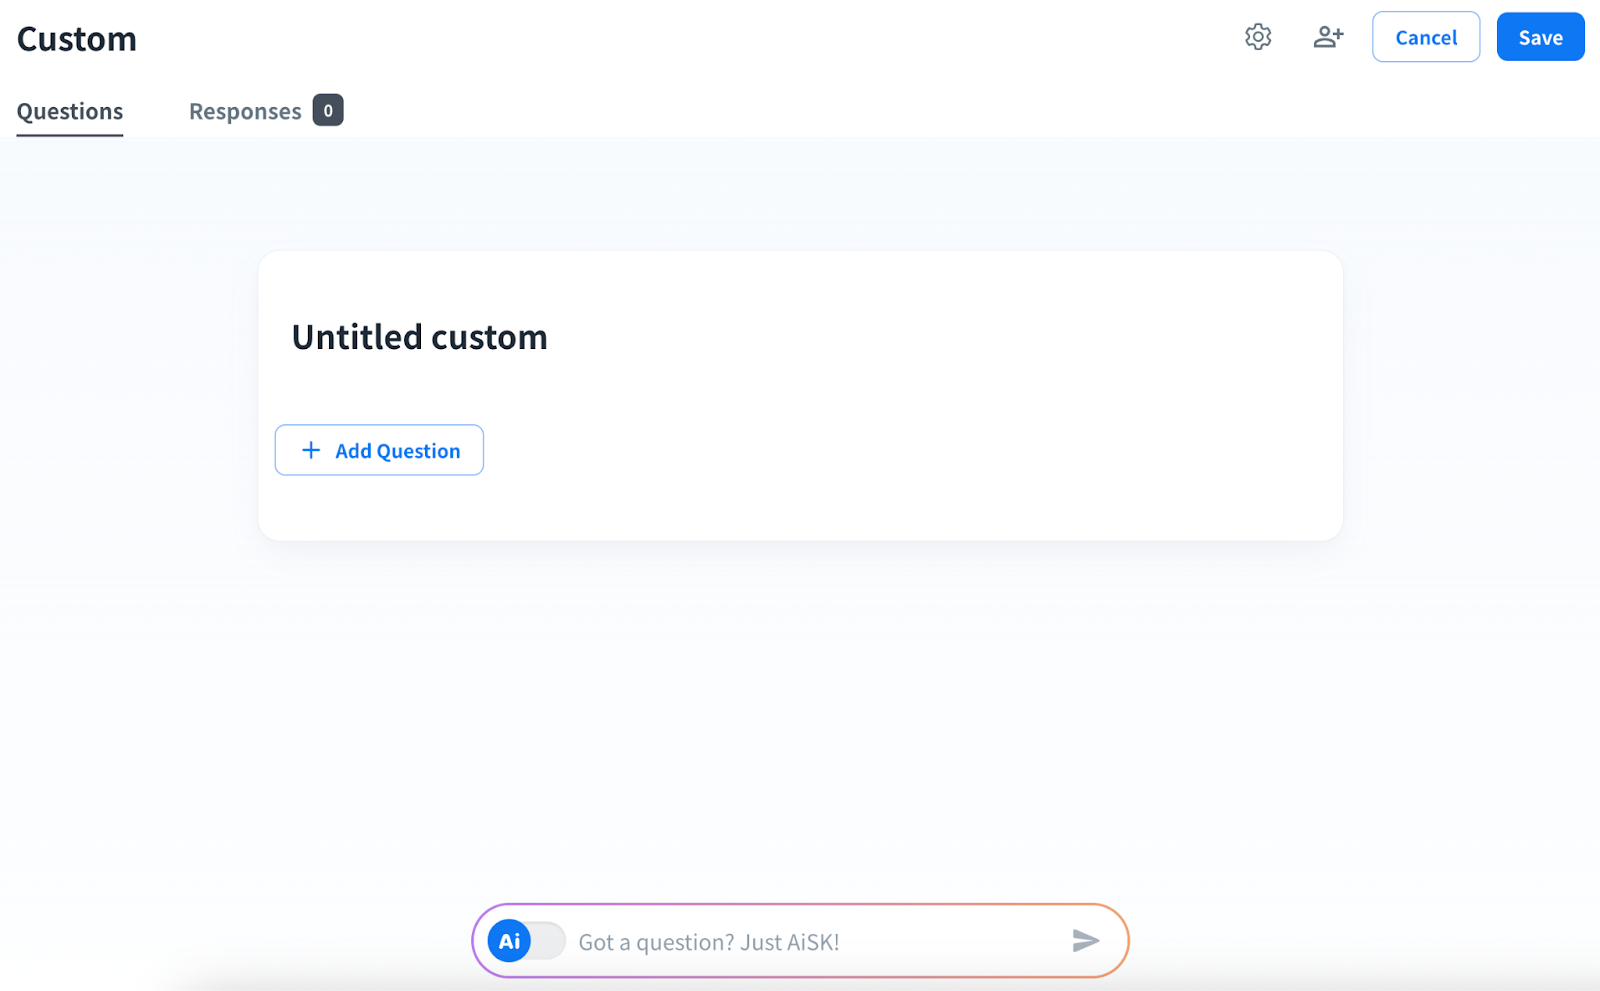
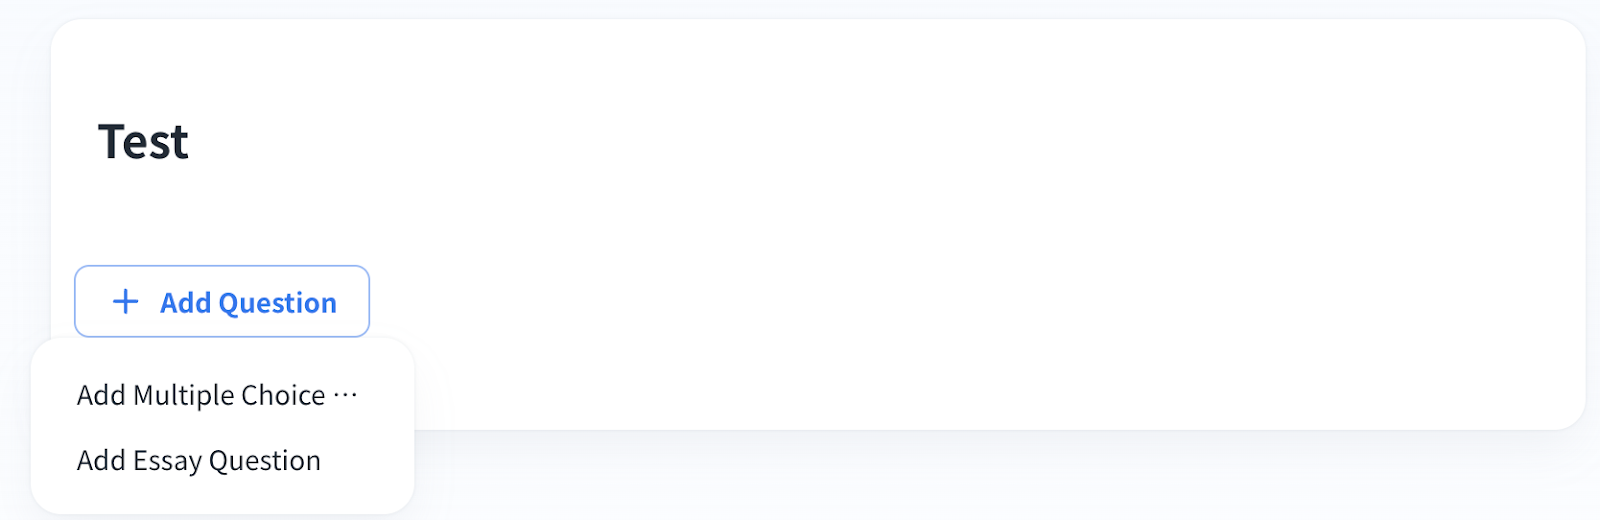
- Click “+ Add Question” to add questions with multiple answers or an essay question.
-
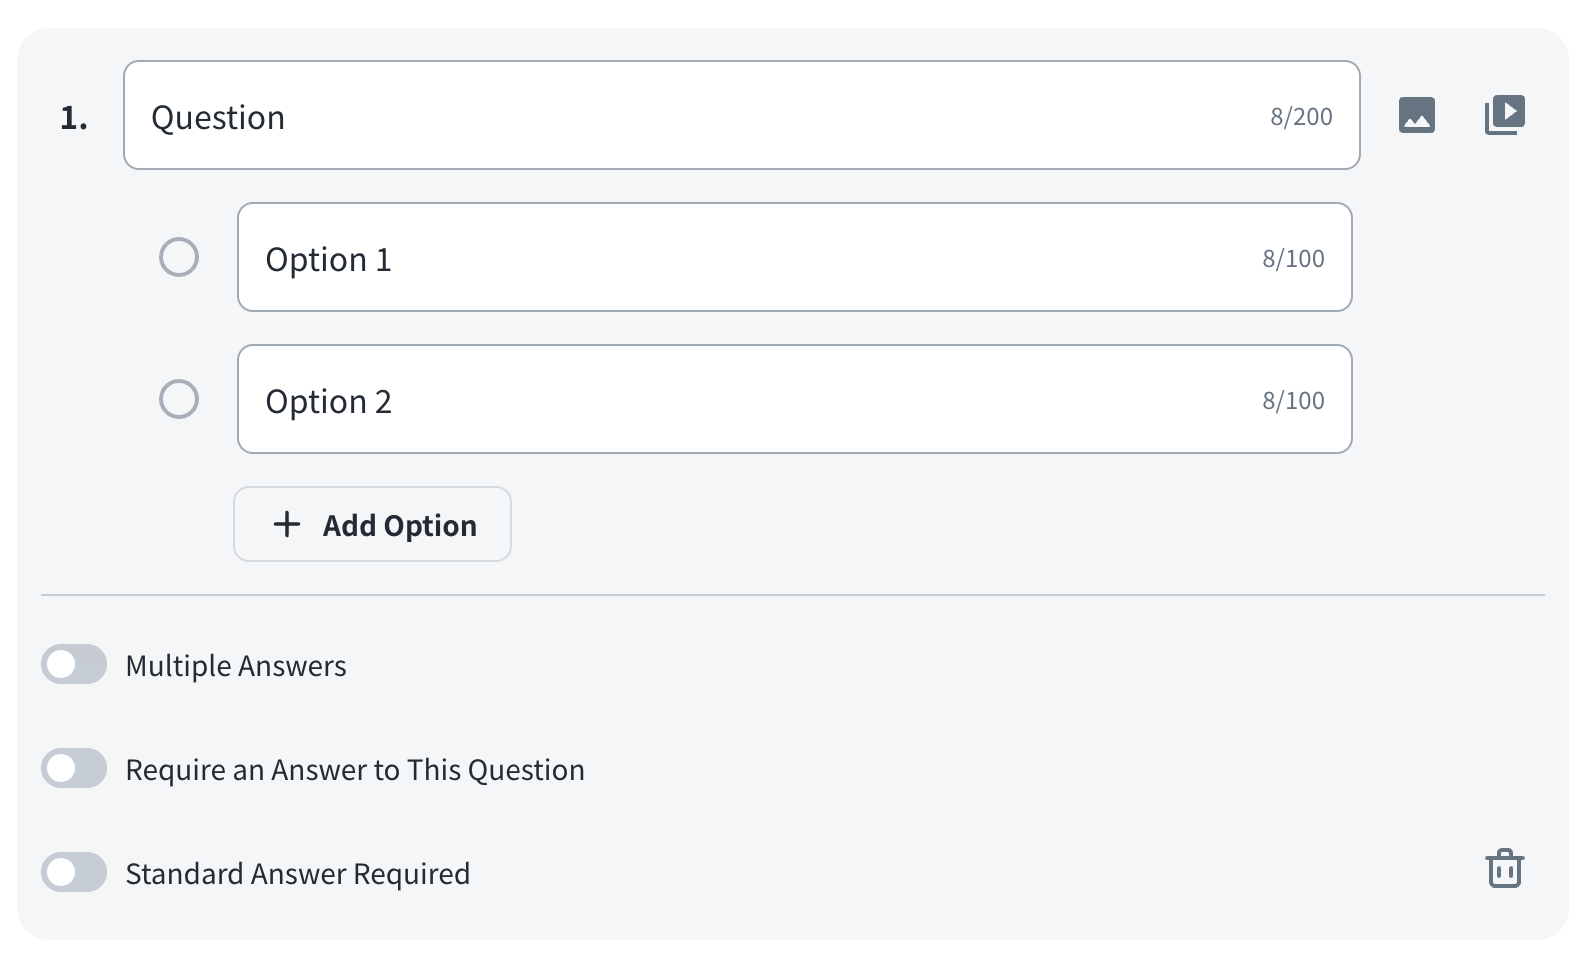
Multiple answers question: Add your questions and options
-
- Question: Create your question (Maximum: 200 characters). You can add an image or a media file to your question.
- Option: Add options to your question and please do remember to select one or multiple correct answers simultaneously (Maximum: 100 characters). You can add an image to your option. It allows up to 10 options for each question at a time.
- Multiple Answers: Enable to respond to question with multiple answers
- Require an Answer to This Question: Enable to set it as a required question
- Standard Answer Required: Enable to set a standard answer to a choice question
-
Essay question: You can add an essay question which has no standard answers.
-
- Question: Create your question (Maximum: 200 characters). You can add an image or a media file to your question.
- Description: The answer field to your question (Maximum: 500 characters).
- Require an Answer to This Question
3. You can choose how to display the answer to your students from Setting.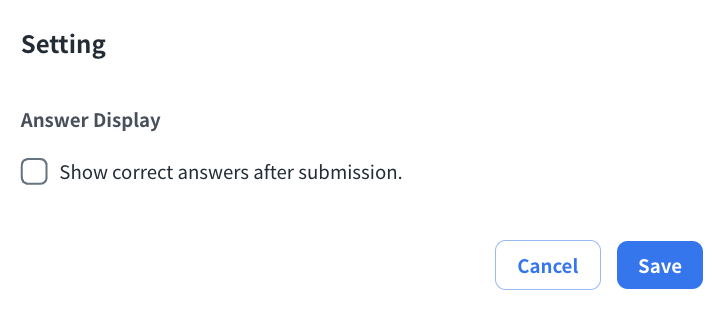
- Answer Display: Check to display the correct answer after submitting
Permission
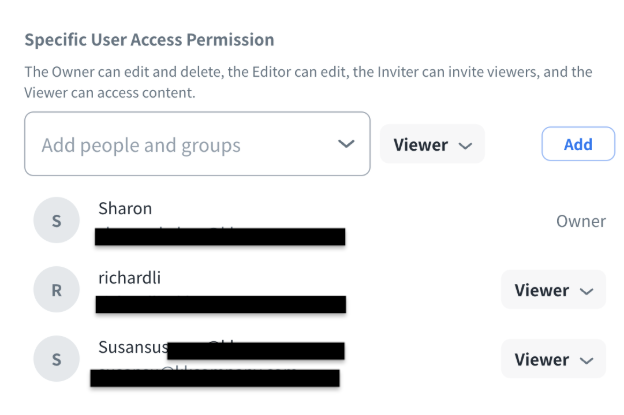
Share the form to your students by clicking  icon, where you can grant the access permissions to the users or specific people/groups in the organization under Specific User Access Permission.
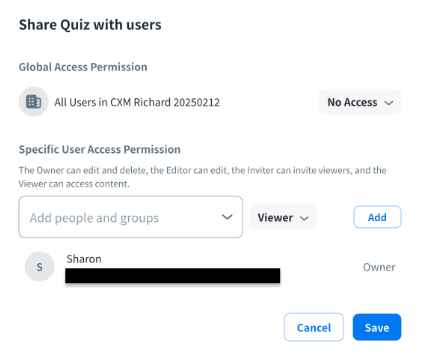
The students’ access right is Viewer.
For the details of access permission, please refer to Content Permission Management for more information.
Save your form
After the above steps have been completed, please click the “Save” button on the upper-right corner to save your form (quiz with blank form/custom form). Besides, AI-generated quizzes will be saved automatically when generating is completed.
Once you create your form, you can confirm it from “Home” > “My Asset”.
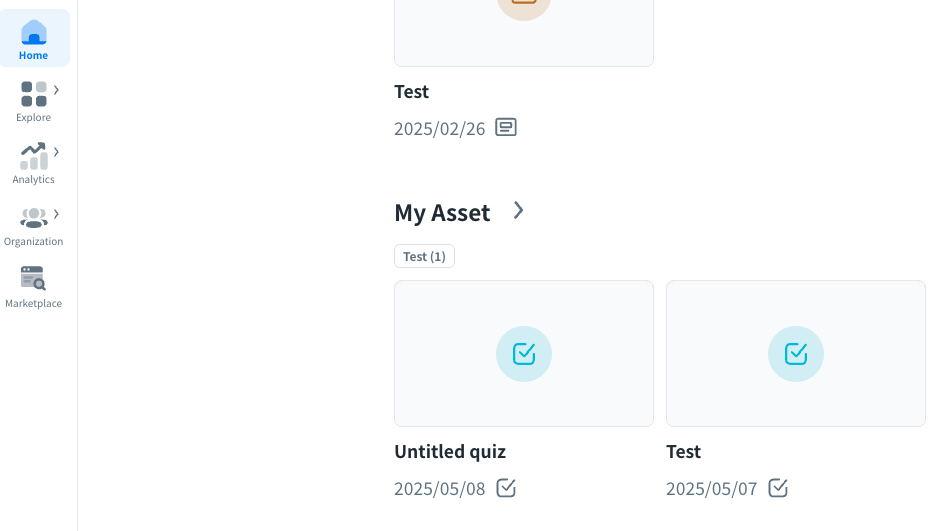
Confirm the created content’s basic information as below:
 Content created time
 File type
 Click to create task (As default, the content will be included to the task)
Please refer to Create a Task for more details.
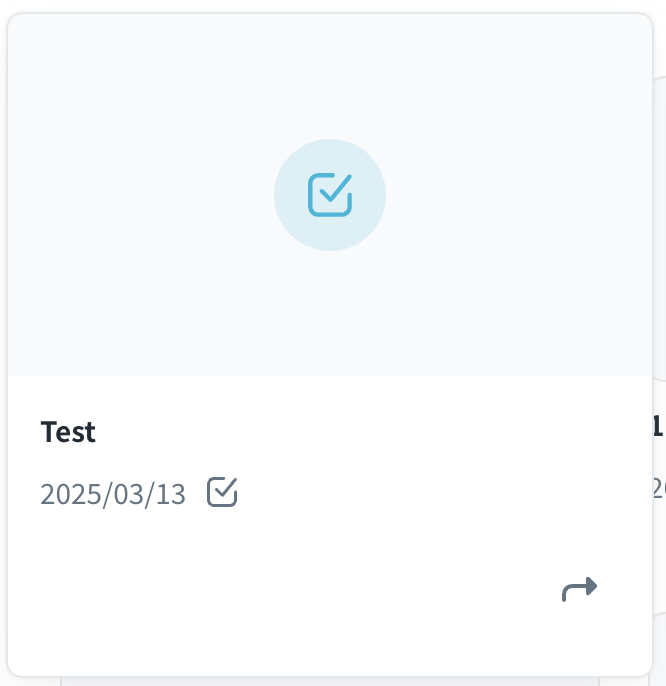
Click the thumbnail to confirm the detailed page of the content.
For the details of how to edit a form (quiz/custom), please refer to Edit a Form (Quiz/Custom) for more details.
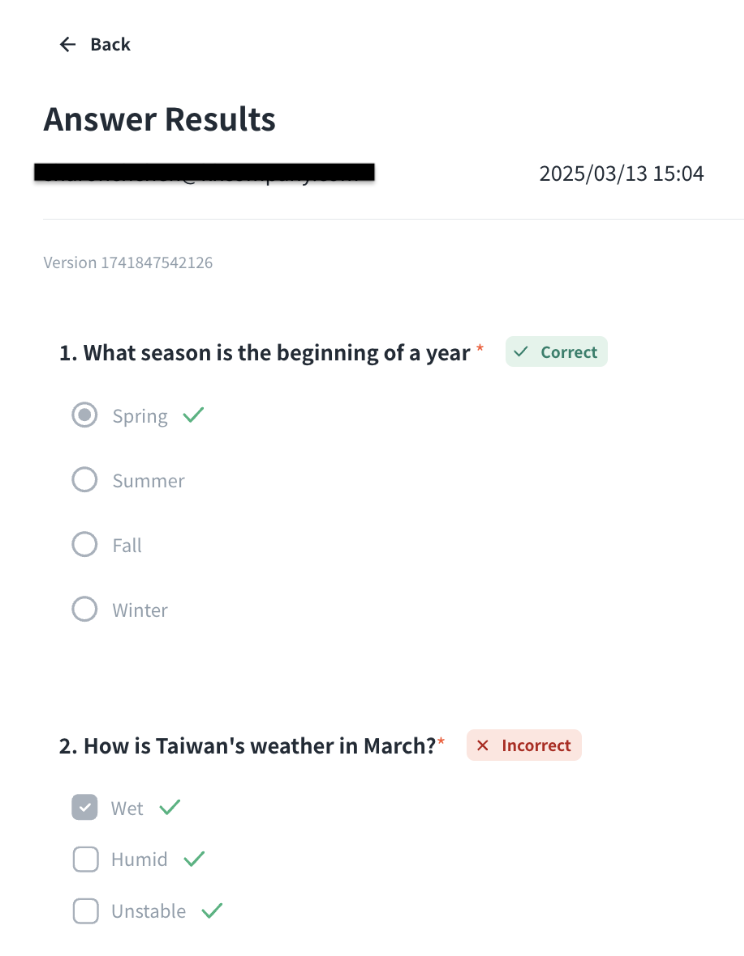
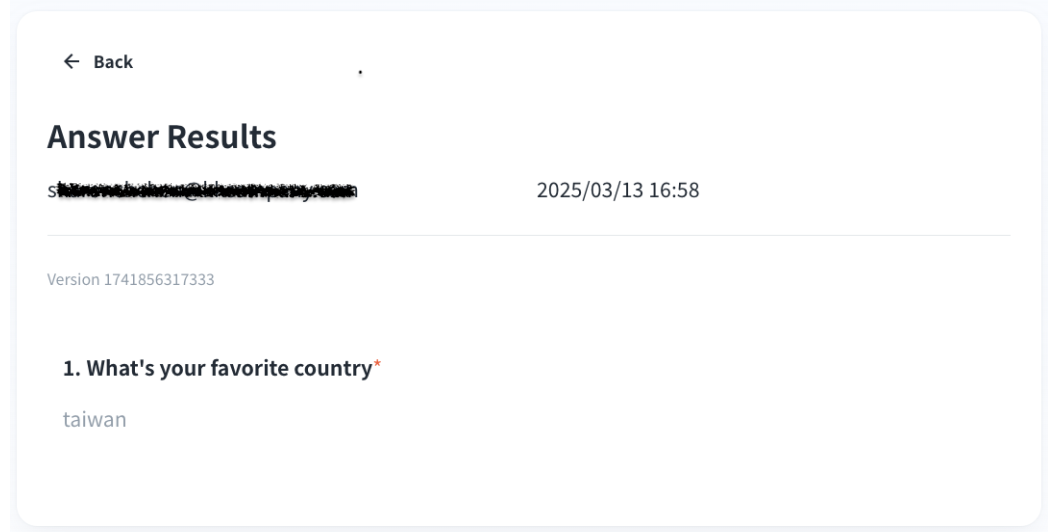
- Click
 icon to confirm the response details
 - Click
 icon for more actions
Publish your form
When the form (quiz/custom) is ready, you can publish and assign it to your learners from a program or a task.
If you would like to know how to publish and assign your form, please refer to Create a Program and Create a Task for more details.
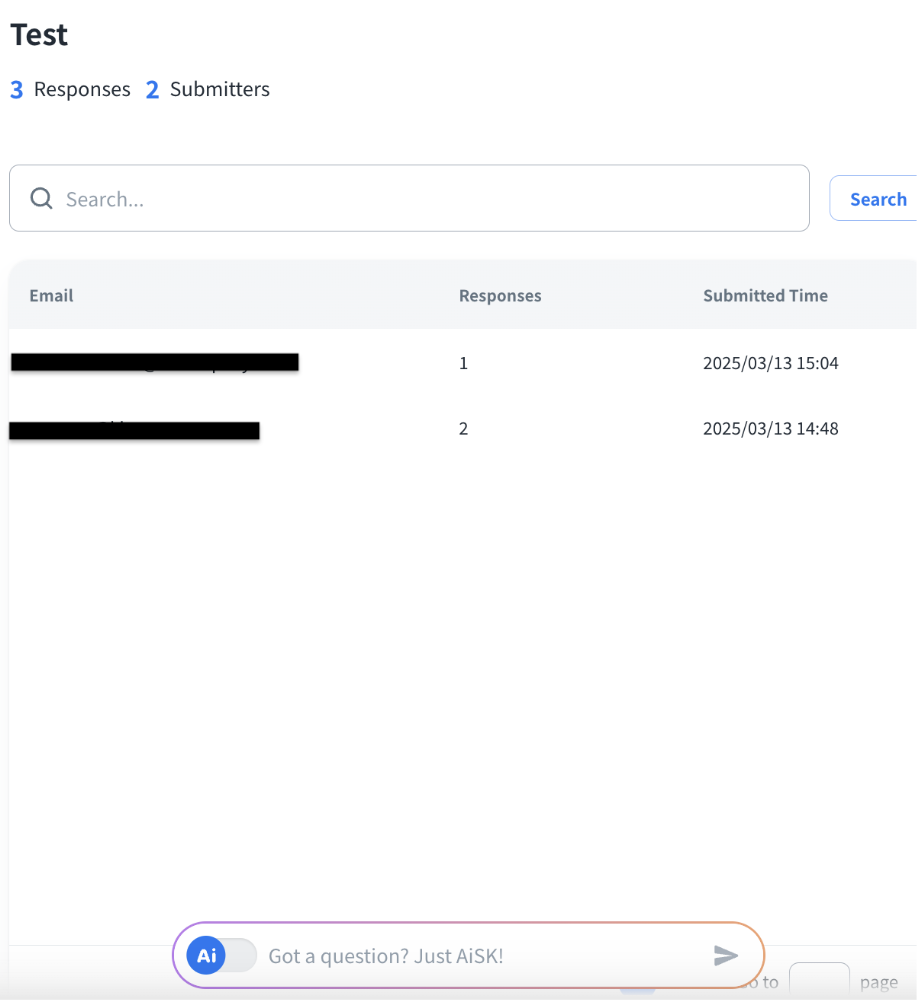
Responses
After the quiz is created, you can confirm the response details of students who have submitted the form in Responses section.
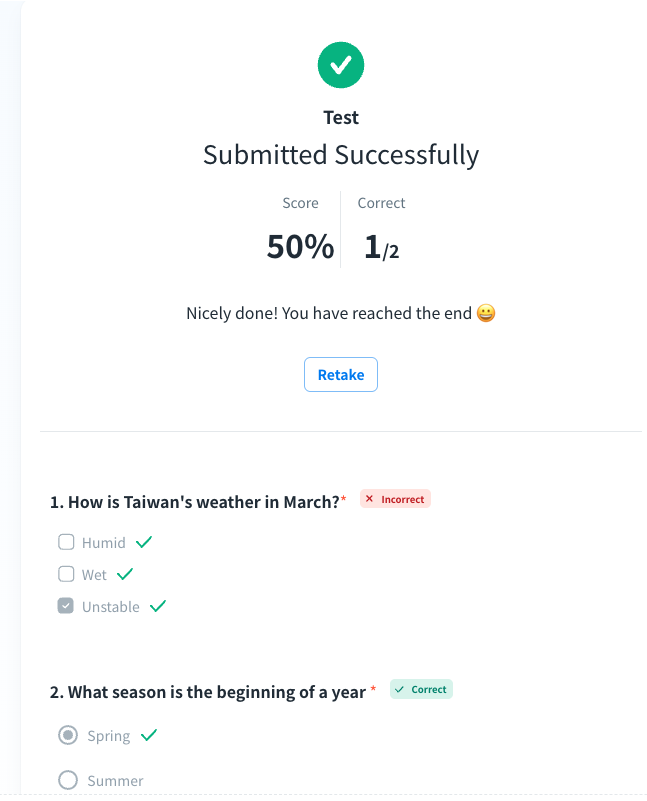
Retake form
The students can retake the quiz from clicking the “Retake” button.
If you would like to know how to create content from different types of documentation, please refer to the Content section for more details.