[AiM] Organization Module Introduction for Admin
BlendVision AiM provides an Organization module designed to streamline the management of multiple users within your organization.
As a Super Admin/Admin, you can manage user account information as well as confirm the permissions and role with the Organization module.
Access the Organization module
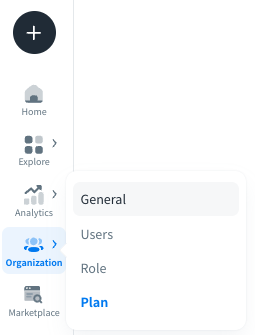
You can access the features of the Organization module from “Organization**”** on the left sidebar.
Key features
General
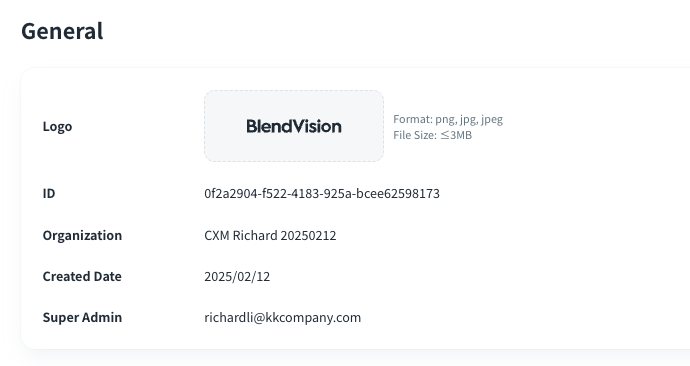
In the General page, you can confirm the general information of your organization:
- Logo: The display logo uploaded from super admin of the organization
- ID: The unique ID of your organization
- Organization: The display name of your organization
- Created Date: The created date of your organization
- Super Admin: The owner of your organization
Users
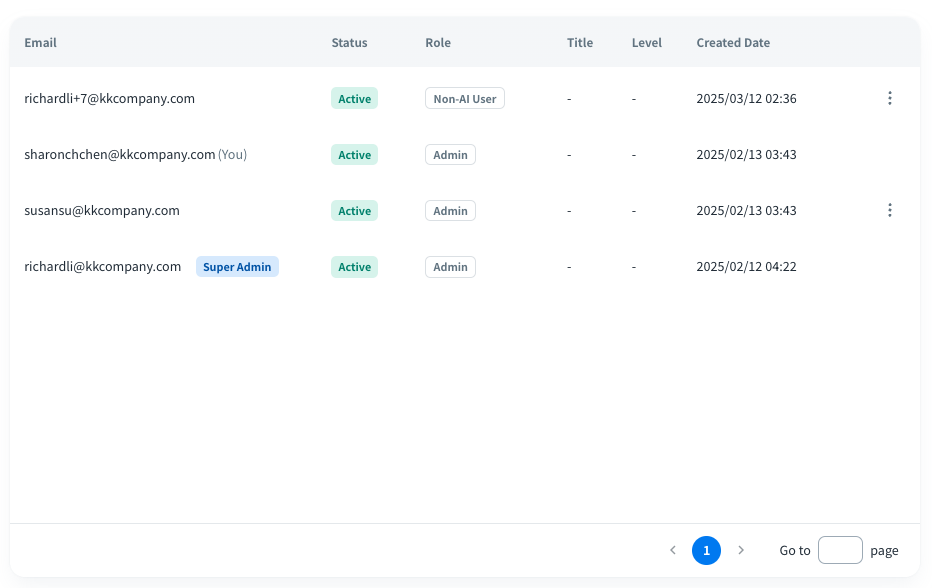
In the Users page, you can easily confirm user accounts and their roles or other custom information in your organization with a centralized user list.
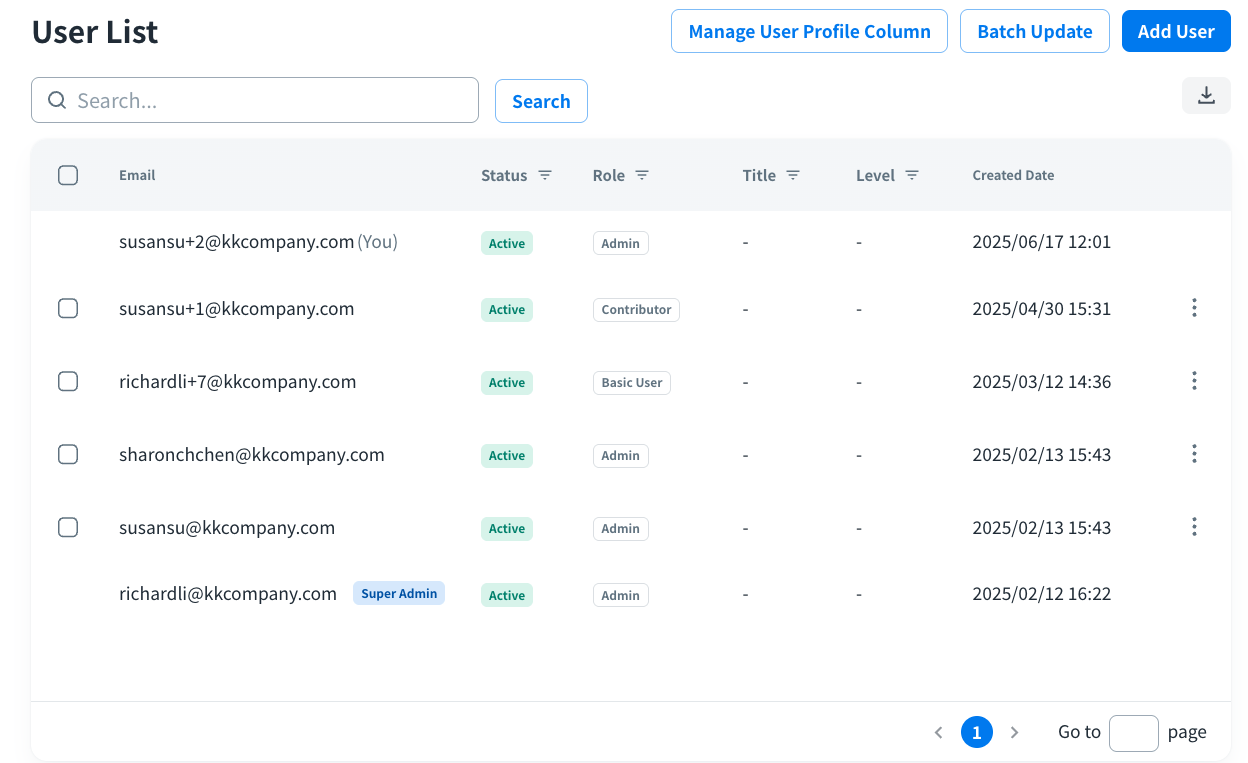
Search the user information with email address via search bar

Download the user list in .xlsx or .csv via the “Download” icon

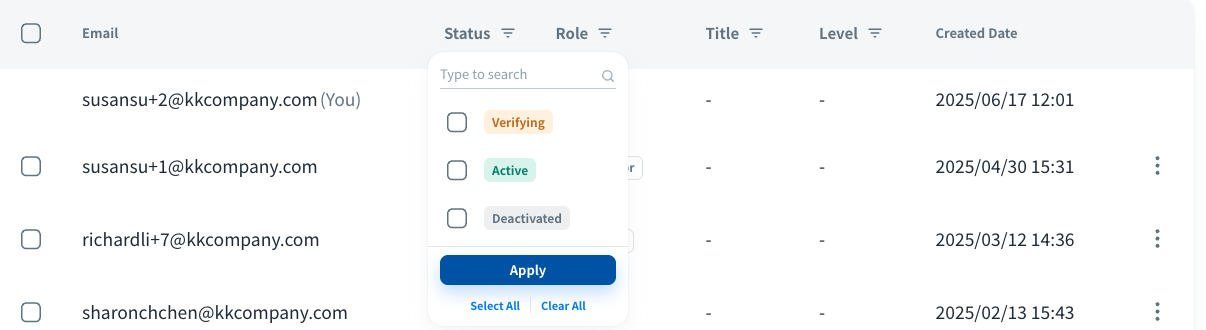
You can type the keyword to filter the users by the Status, Role or other custom columns from the Filter icon of the title bar.
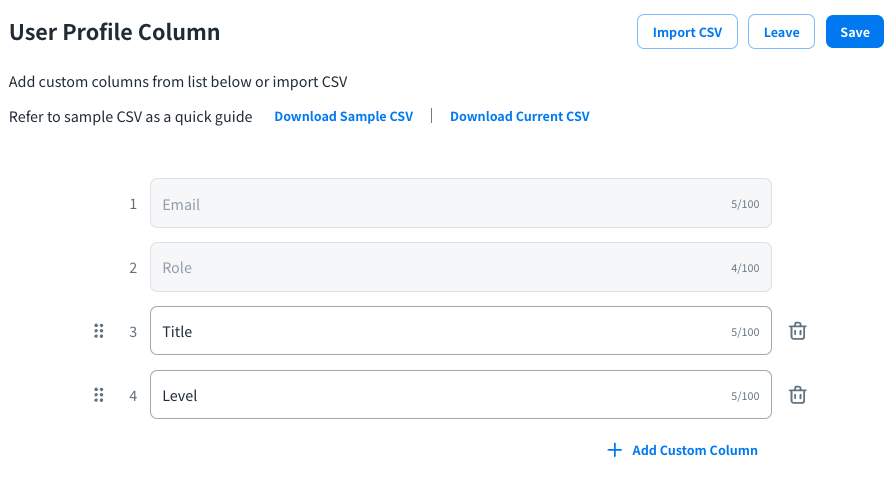
Manage User Profile Column
- Click Manage User Profile Column button on the upper right side to add custom columns for your user list
- You can add custom columns by manual with clicking “Add Custom Column” or import CSV via “Import CSV” button at the upper right side, and press the Save button.
Batch Update
There are two ways for batch update users profile information.
- Execute batch update by manual selection: Click the check box before Email for batch update of user status as below:
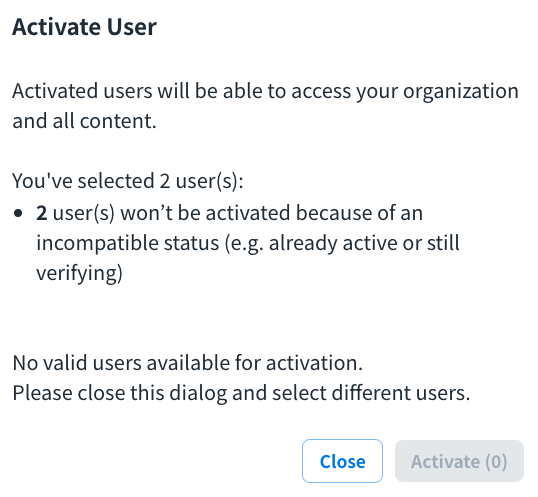
- Activate: Activated users will be able to access your organization and all content.
- Deactivate: Deactivated users will not be able to access your organization or the content. However, their associated data will remain in the system.
- Resend Invitation: An invitation email will be resent to the selected users, allowing them to join your organization.
- Delete: Deleted users will no longer have access to your organization. Their associated data will also be deleted. Their associated data will also be deleted.
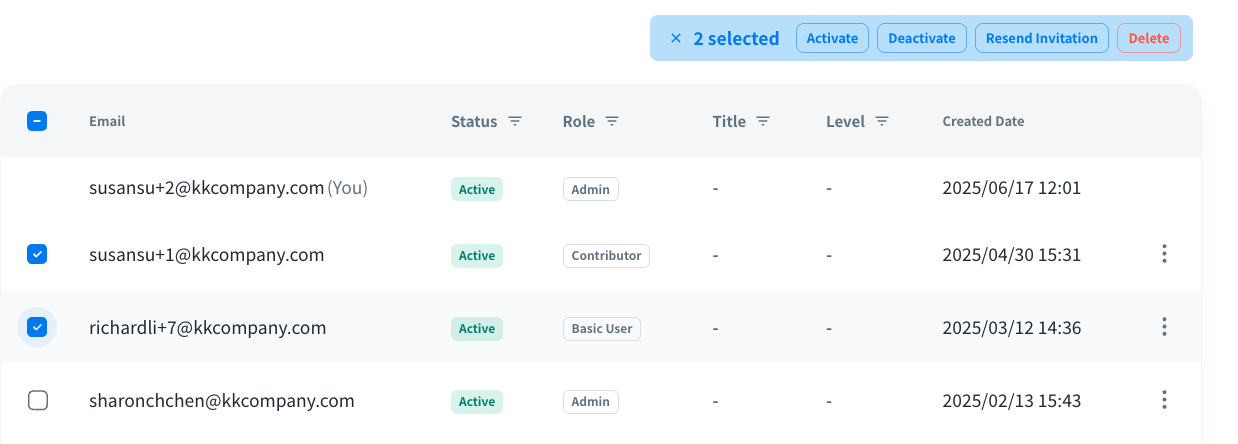
Then, select the action and click the button to execute the updates for users.
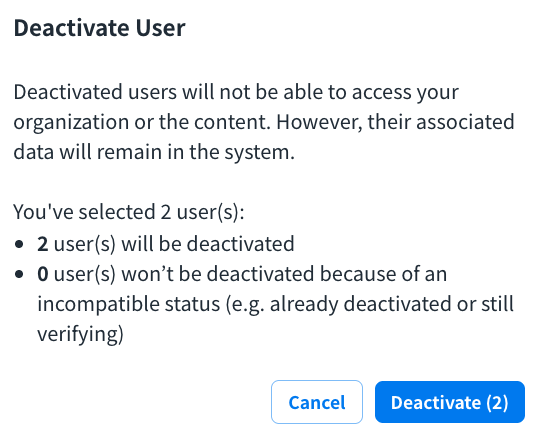
Note: The action will not be executed when the user status is incompatible.
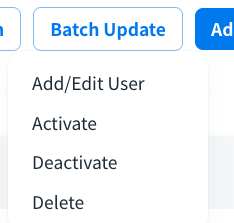
- Execute batch update via file import: Click Batch Update for batch update of user status as below:
- Add/Edit User
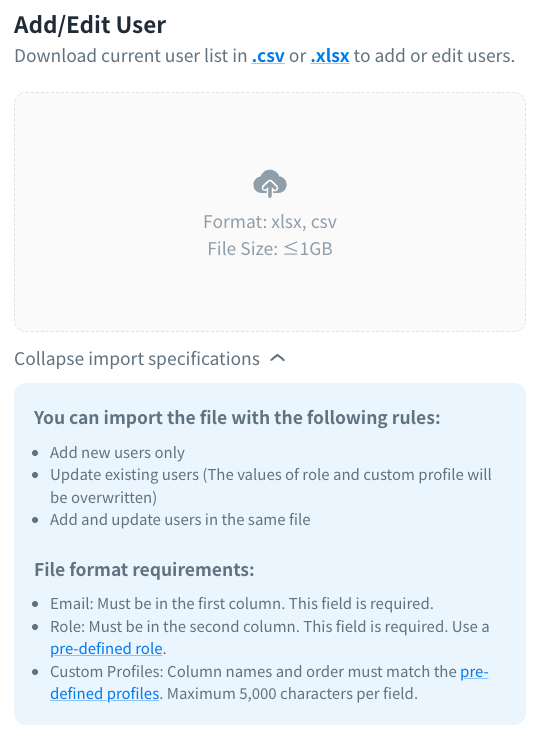
- Add new users only
- Update existing users (The values of role and custom profile will be overwritten)
- Add and update users in the same file
- Activate
- Only users with the current status set to "Deactivated" can be activated
- Deactivate
- Only users with the current status set to "Active" can be activated
- Delete
- Import a user list to delete users
- Add/Edit User
Select the action you want to execute and download the current user list in .csv or .xlsx. Expand the import specifications to confirm the imported rules as revising the file.
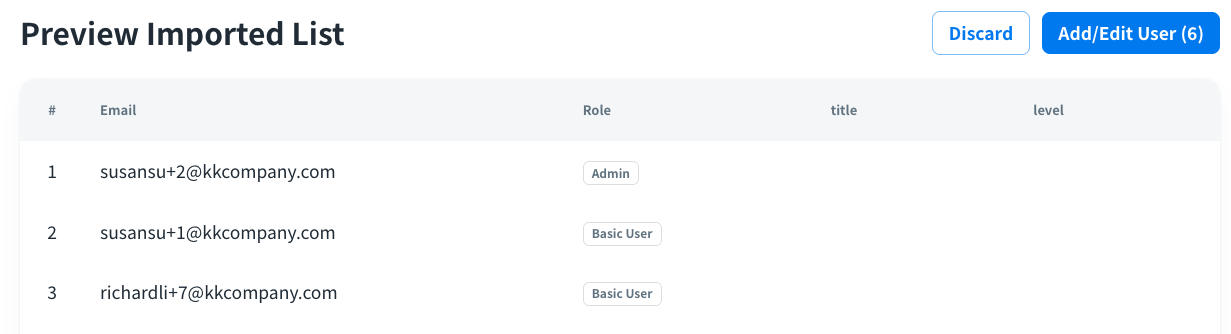
When the revised user list is ready, upload it to import updated information. You can preview the updated information before importing the file via “Preview” button.

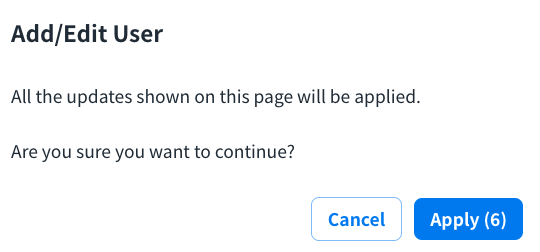
Click the action button > “Apply” button to import the updated information or click “Discard” button to cancel it after confirming the updates.
Note: When the user list is imported, the updates may take a moment. The new batch should be uploaded after the current update is complete.

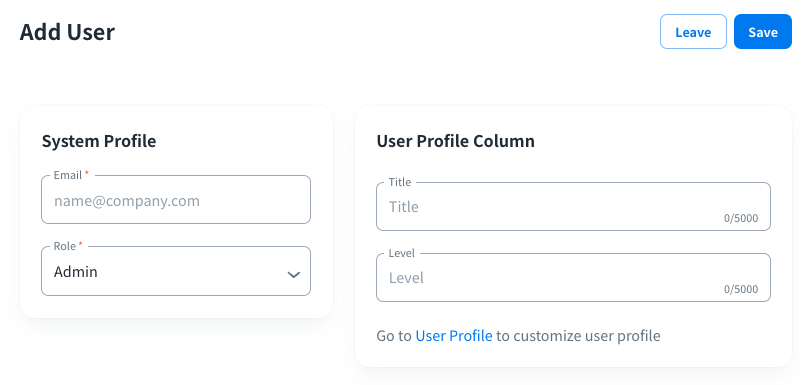
Add User
- Click Add User button on the upper right side to add new users for your user list by manual
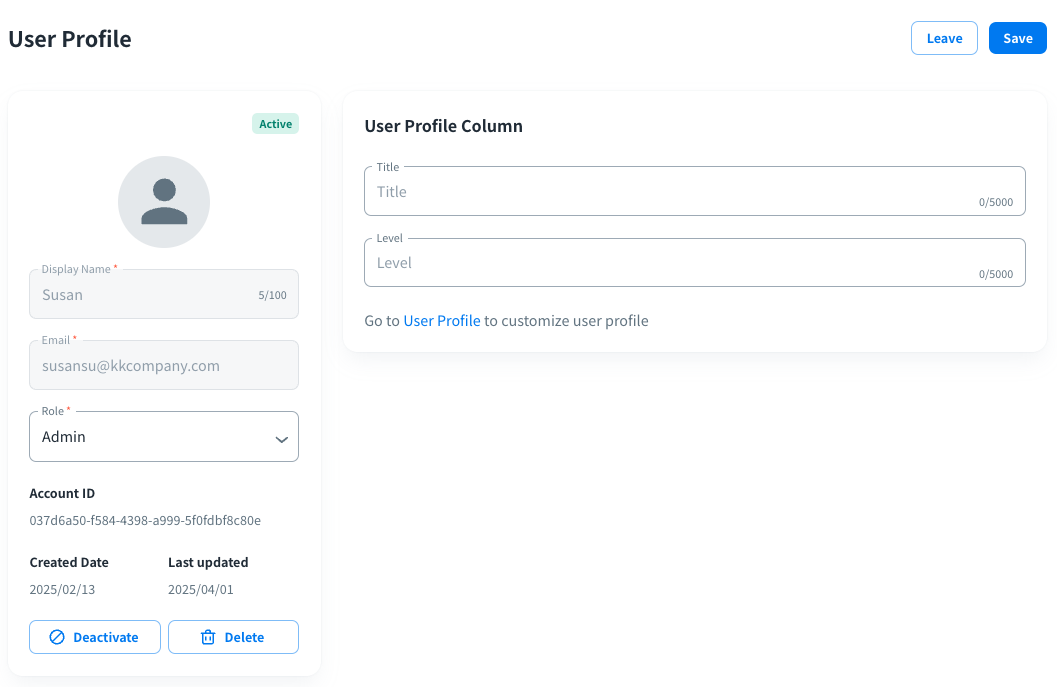
Select a user on the User List to access the edit page of User Profile and edit the user information
- You can change the Role type of the user via drop-down menu. For the access right of each role, refer to the Role section below.
- Press the “Save” button to submit.
Role
When a user’s account has been granted for a specific Role, the role will be controlled and restricted the visibility and operation to each module.
Note: The access and edit right of each content will not be only controlled by the Role. For more details, please refer to Content Permission Management. 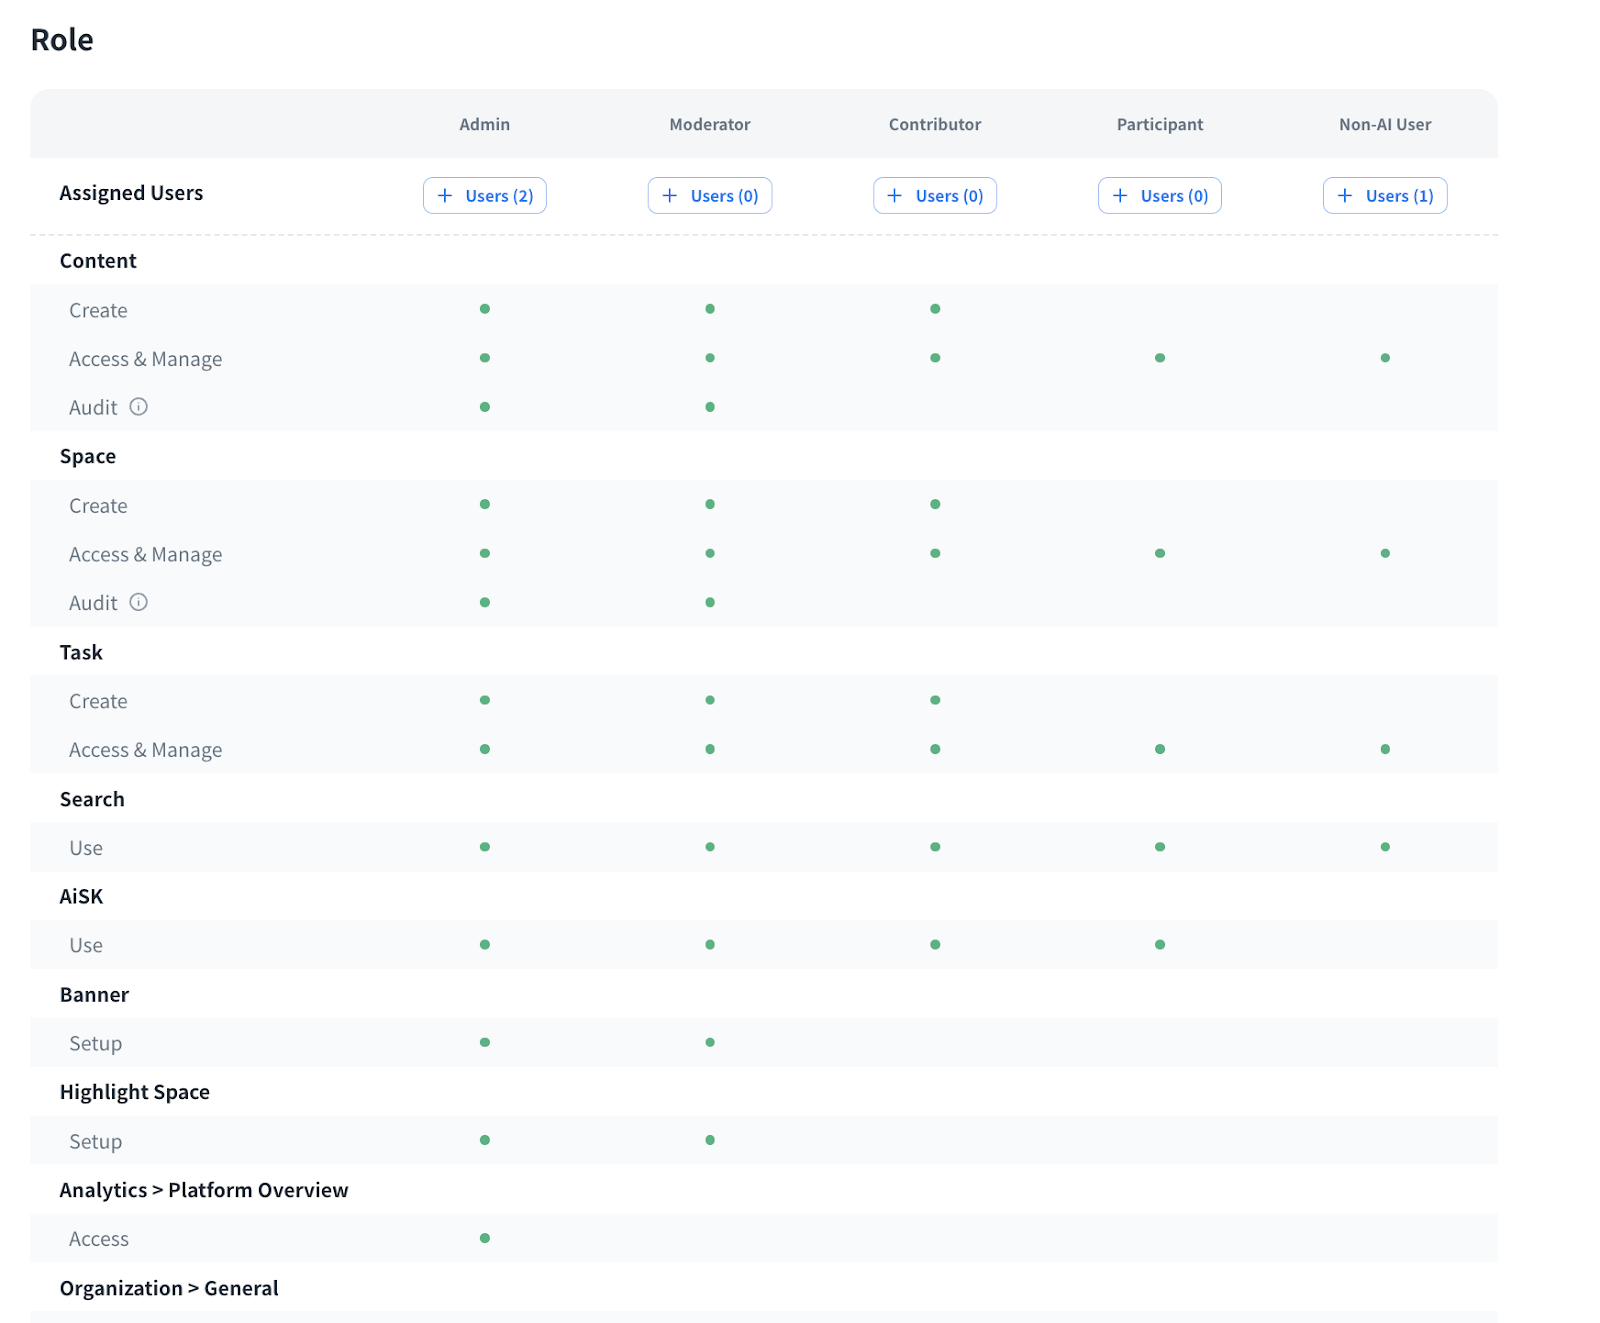
Account Type (Role)
Permission
Super Admin/Admin
The Owner of an organization.
- Content
- Admin can create, access and manage the contents in the organization.
- Admin owns the audit right to grant users the permission to view, edit, and delete all contents of the organization, even if they don’t have permission to the contents. (Available for programs, media, articles, documents, and forms.)
- Space
- Admin can create, access and manage the spaces in the organization.
- Admin owns the audit right to grant users the permission to view, edit, and delete all spaces of the organization, even if they don’t have permission to the spaces.
- Task
- Admin can create, access and manage the tasks in the organization.
- Search
- Admin can use the search feature
- AiSK
- Admin can use the AiSK feature
- Banner
- Admin can set up the banners
- Highlight Space
- Admin can set up the highlight space
- Analytics
- Admin can access the platform overview
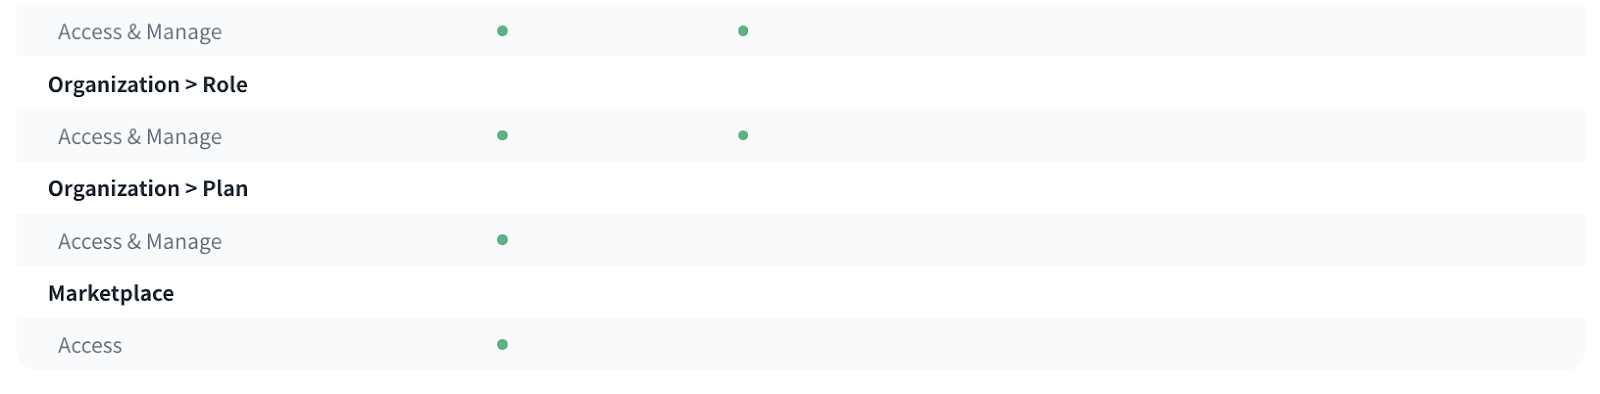
- Organization
- Admin can access and manage General, User, Role and Plan module
- Marketplace
- Admin can access the marketplace
Moderator
- Content
- Moderator can create, access and manage the contents in the organization.
- Moderator owns the audit right to grant users the permission to view, edit, and delete all contents of the organization, even if they don’t have permission to the contents. (Available for programs, media, articles, documents, and forms.)
- Space
- Moderator can create, access and manage the spaces in the organization.
- Moderator owns the audit right to grant users the permission to view, edit, and delete all spaces of the organization, even if they don’t have permission to the spaces.
- Task
- Moderator can create, access and manage the tasks in the organization.
- Search
- Moderator can use the search feature
- AiSK
- Moderator can use the AiSK feature
- Banner
- Moderator can set up the banners
- Highlight Space
- Moderator can set up the highlight space
- Organization
- Moderator can access and manage General, User, and Role module
Contributor
- Content
- Contributor can create, access and manage the contents in the organization.
- Space
- Contributor can create, access and manage the spaces in the organization.
- Task
- Contributor can create, access and manage the tasks in the organization.
- Search
- Contributor can use the search feature
- AiSK
- Contributor can use the AiSK feature
Participant
- Content
- Participant can access and manage the contents in the organization.
- Space
- Participant can access and manage the spaces in the organization.
- Task
- Participant can access and manage the tasks in the organization.
- Search
- Participant can use the search feature
- AiSK
- Participant can use the AiSK feature
Non-AI User
The user type without enabling AiSK feature.
- Content
- Non-AI User can access and manage the contents in the organization.
- Space
- Non-AI User can access and manage the spaces in the organization.
- Task
- Non-AI User can access and manage the tasks in the organization.
- Search
- Non-AI User can use the search feature
Plan
In the Plan page, you can confirm the current plan your organization is subscribed to and the benefits provided by each plan.
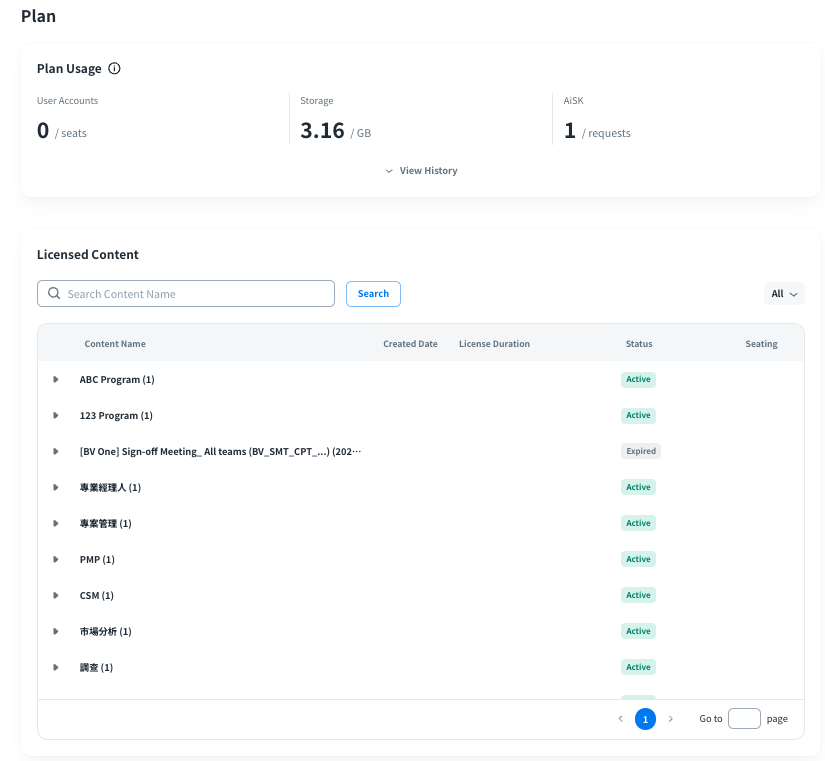
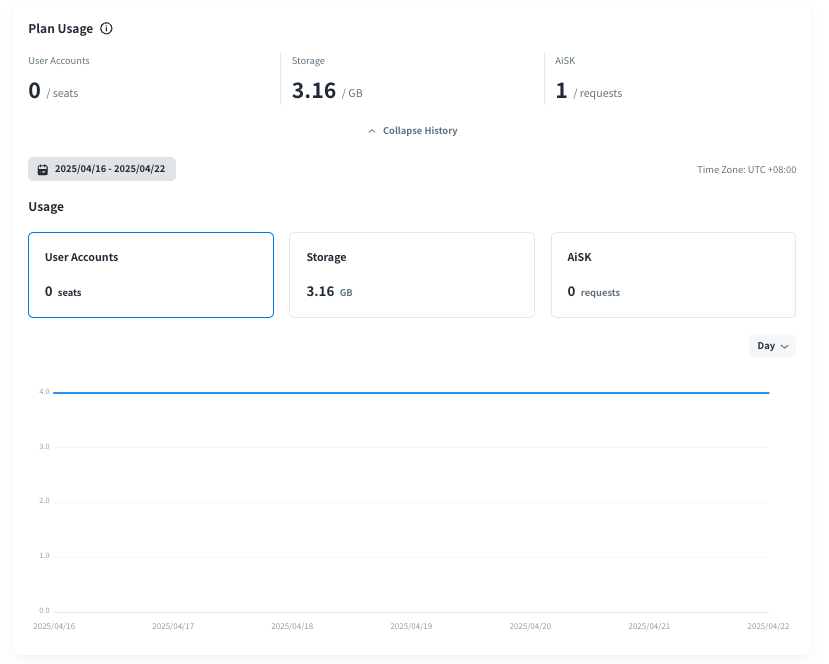
Plan Usage
You can confirm the total user accounts, storage and AiSK request of usage within your organization.
Licensed Content
You can confirm all licensed contents in Licensed Content list.
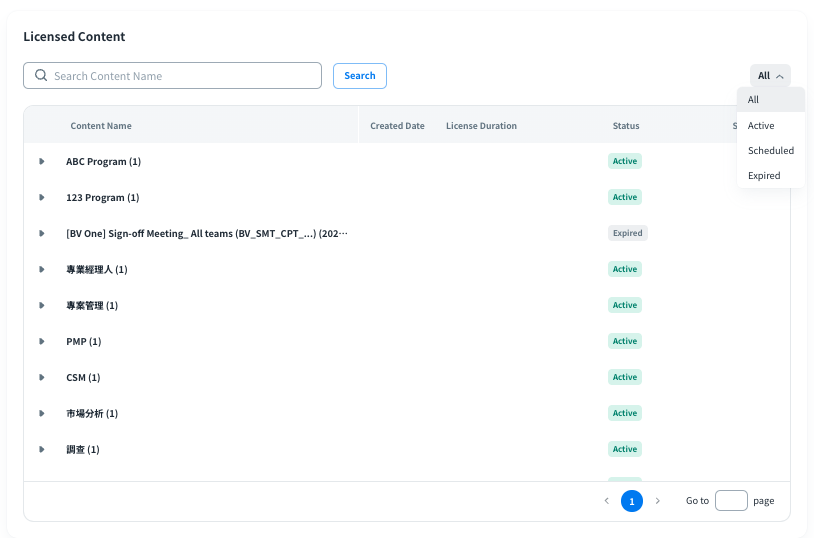
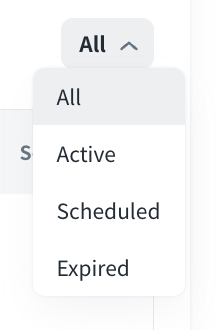
Search the licensed content with content name via search bar.

Filter the licensed contents by the Status from drop-down menu.